
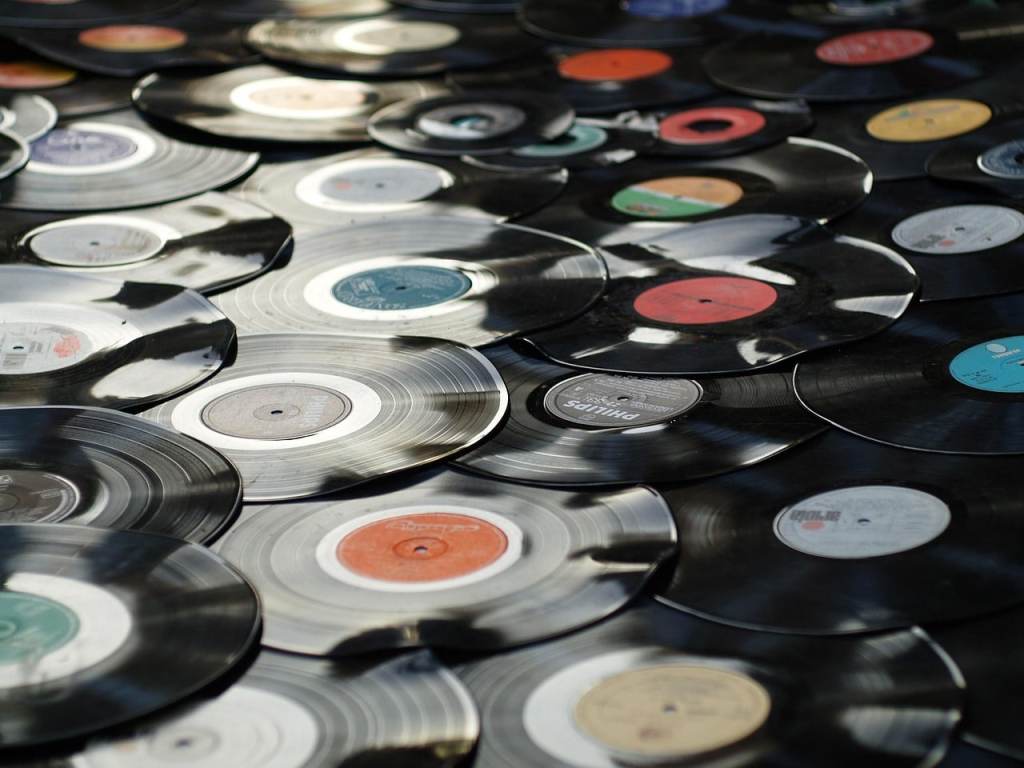
How to Clean Vinyl Records on a Budget
Vinyl doesn’t demand perfection, it asks for care. Most of the records that pass through my hands aren’t pristine showpieces; they’re thrift-store finds, hand-me-downs, or long-loved copies that have lived real lives. And while it’s easy to believe that great sound requires expensive machines and lab-grade fluids, the truth is far simpler. With a few inexpensive tools and a bit of patience, you can dramatically quiet surface noise, extend the life of your records, and let the music breathe again, without draining your wallet or overthinking the process.
That said, it’s worth being realistic before you even get to the cleaning stage. No amount of brushing or fluid can undo deep scratches, groove wear, or damage that’s baked in from decades of misuse. If a record looks rough in the bin, heavy scuffs, gray groove wear, or visible gouges, it’s probably going to sound that way, too. Cleaning can reduce noise and improve clarity, but it isn’t a miracle cure. The best results still start with a careful eye at the point of purchase, knowing when a record is worth rescuing and when it’s better left behind.
What Cleaning Can (and Can’t) Fix
Cleaning a record does a few things exceptionally well. It removes dust, dirt, mold residue, and oils that settle deep into the grooves over time. This is where most of the pops, crackle, and dullness come from, especially on used records that have been sitting unplayed for years. A proper cleaning can lower surface noise, improve high-frequency detail, and restore some of the openness that gets masked by grime. In many cases, a record that sounds flat or noisy can become surprisingly enjoyable with nothing more than a thorough, careful clean.
What cleaning can’t fix is physical damage. Deep scratches, groove wear from worn needles, and warping are permanent issues. If the grooves themselves are worn down or misshapen, no solution, cheap or expensive, can put that vinyl back. Likewise, pressing defects and repeated mistracking from heavy tonearms will always reveal themselves during playback. Cleaning is about revealing what’s still there, not rewriting a record’s history.
The key is understanding the goal: not perfection, but improvement. When you approach record cleaning as a way to reduce distractions and let the music come forward, rather than chasing silence, you’ll get far more satisfaction out of the process and the results.
What You Actually Need (and What You Don’t)
You don’t need a motorized cleaning machine, specialty fluids, or anything marketed as “audiophile grade” to get good results. Those systems make sense if you’re running a record store, archiving collections, or cleaning a high volume of records every day, but for most home listeners, they’re unnecessary. With a small, reasonably priced setup and a little time, you can achieve results that are surprisingly close to what the expensive solutions deliver.
Effective record cleaning comes down to a few simple tools that work together to loosen dirt, lift it from the grooves, and dry the record without introducing new debris.
This article contains affiliate links. If you choose to buy through them, it helps support Needle & Vine at no extra cost.
Carbon-Fiber Record Brush
For lifting loose dust before a deep clean and keeping everyday buildup from settling into the grooves.

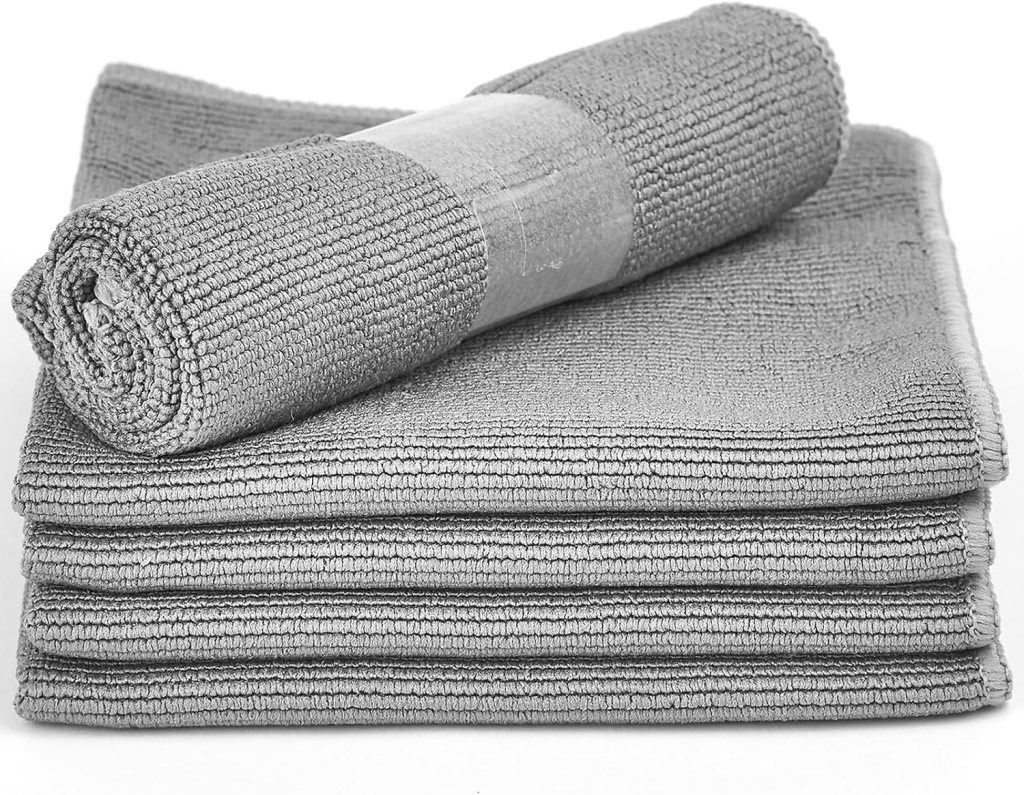
Soft Microfiber Cloths
For gently wiping away surface dust and helping tame static between listening sessions.
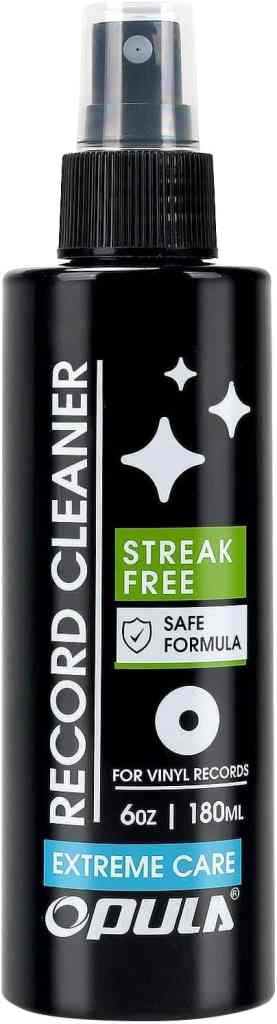
Basic Cleaning Solution
A simple vinyl-safe cleaning solution, store-bought or mixed at home to loosen grime without harming the record.
Drying Surface or Rack
A basic drying setup, even a dish rack or clean towel to let records air-dry without introducing new debris.

That’s it. No motors, no suction arms, no lab coats. What matters isn’t the price tag, it’s the method. Gentle contact, clean materials, and patience will get you most of the way there.
Looking for Something Even Easier?
When I first started collecting vinyl, I assumed an ultrasonic cleaner was the end goal. Then I looked at the price. Most quality ultrasonic systems start around $500, and while they’re excellent, that simply wasn’t realistic for my budget while I was still building my collection.
That’s what caught my attention about the HumminGuru EZ Record Washer. At around $99 at the time of this writing, it lands in a much more approachable price range. It isn’t an ultrasonic cleaner, but it packages everything you need into one compact system that’s easy to use and even easier to store on a shelf when you’re finished.
The EZ follows the same principles as the DIY method described in this article, loosening dirt, cleaning the grooves, rinsing, and drying, but it keeps everything organized in one purpose built tool. Instead of gathering supplies each time, you simply pull it off the shelf and get to work.
For many collectors, the manual method outlined below will be all they’ll ever need. But if you’re looking for a cleaner that’s purpose-built without stretching the budget, the HumminGuru EZ is an easy recommendation.
If you’d like a closer look, I’ve also put together a full hands-on review of the HumminGuru EZ Record Washer, where I cover what it does well, where it falls short, and who I think it’s best suited for.
HumminGuru EZ Record Washer
An all in one cleaning tool for speed and consistency.

Whichever approach you choose, remember that the objective isn’t perfection, it’s preserving your records and enjoying the music they hold.
The Cleaning Process (Step by Step)
This is the budget-friendly method I keep coming back to because it’s simple, repeatable, and it works. The goal is to lift grime out of the grooves, not grind it deeper in.
- Start dry: Brush off loose dust before introducing any liquid.
- Apply solution lightly: Keep it vinyl-safe and controlled.
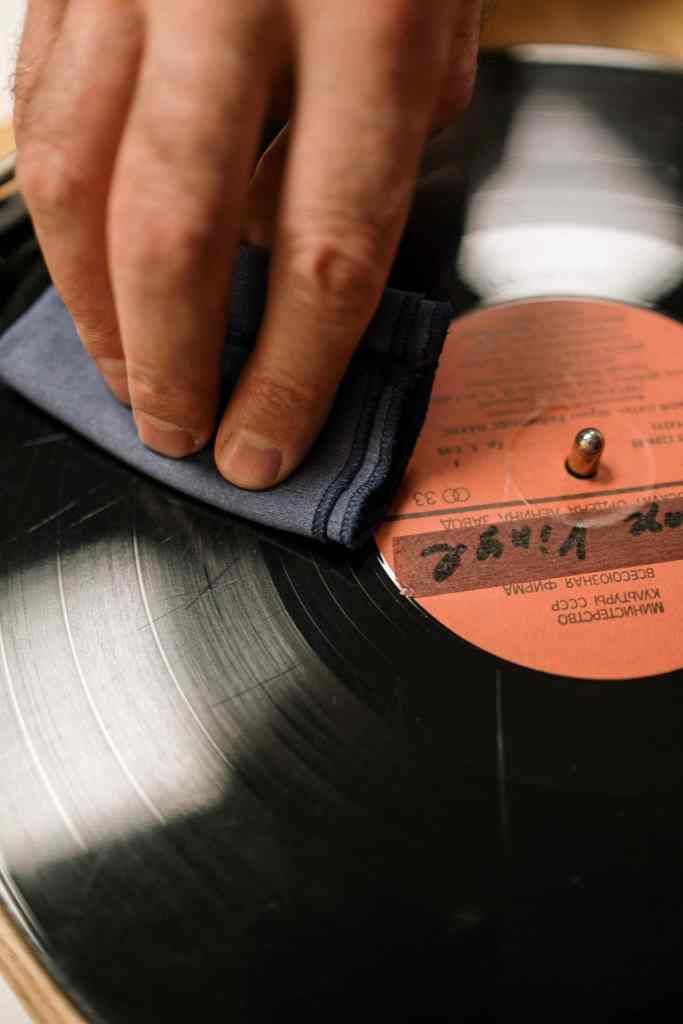
- Wipe with the grooves: Gentle, circular motion—no pressure.
- Let it sit briefly: Give the fluid time to loosen dirt.
- Rinse: Remove residue with clean, lukewarm water.
- Dry properly: Microfiber only, then air-dry vertically.
- Final brush and re-sleeve: Don’t undo your work with a dirty sleeve.
Common Mistakes to Avoid
- Scrubbing too hard
- Skipping the rinse
- Soaking labels
- Using paper towels
- Reusing dirty inner sleeves
- Expecting total silence
Before & After: What to Listen For
What improves most isn’t what’s added, it’s what disappears. Pops soften, crackle recedes, and the music steps forward. Quiet moments tell the real story. Cleaning clears the window; it doesn’t replace the glass.
A Thrift Store Rescue (and a Reality Check)
One of the rougher-looking records I’ve worked on was Guantanamera, worn sleeve, dull vinyl, but no deep damage. A perfect test case for this process, with no expectations beyond honesty.
Final Spin
After cleaning, it didn’t become pristine, but it became listenable. Noise dropped, warmth returned, and the music finally had space to breathe. That’s the real payoff.
Record cleaning isn’t about perfection. It’s about respect for the music, the medium, and your own time. Clean what’s worth cleaning. Let go of what isn’t. Then pour something, drop the needle, and enjoy the ritual.
A quick brush before playback and a thoughtful slipmat choice can extend that sense of care long after the deep clean is done. We’ve shared our favorite record brushes and slipmat options if you want to explore further.